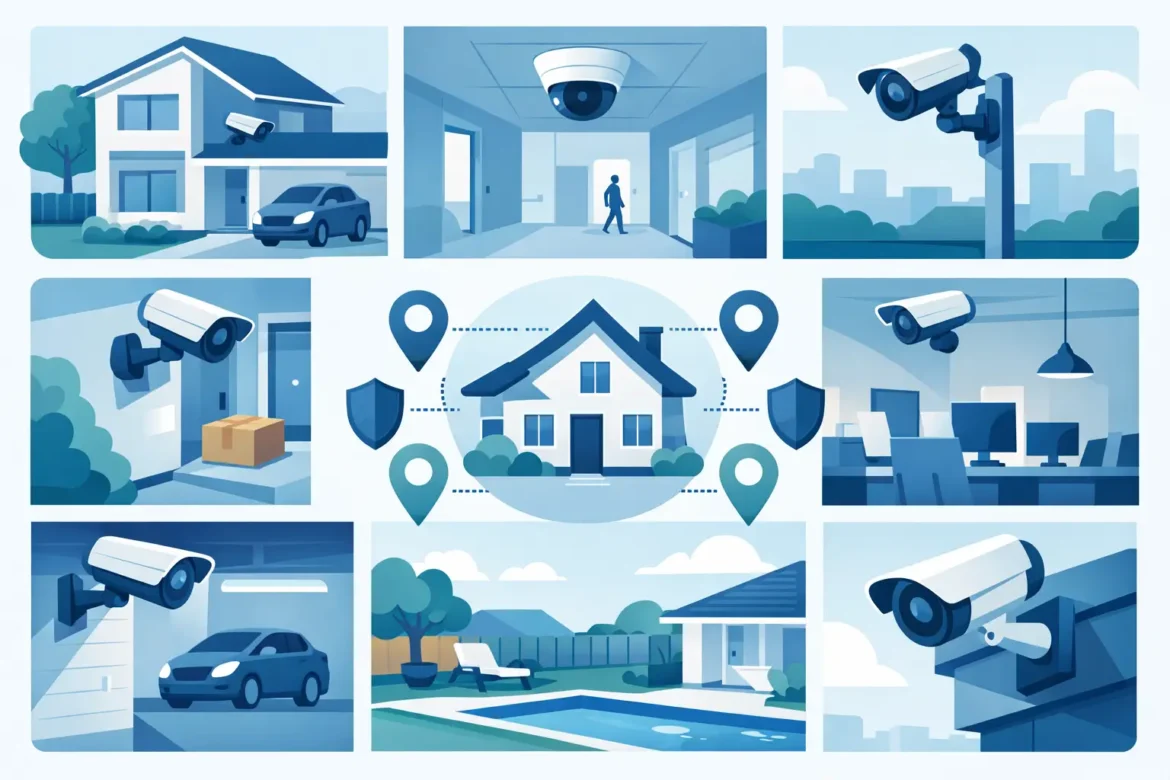
A camera over the wrong doorway can give you a crisp recording of the top of someone’s hat and not much else. That is why smart surveillance camera placement tips matter more than camera count. The best systems are designed around how people move through a property, where risk actually shows up, and how the cameras fit into the look and flow of the space.
For homeowners and business owners investing in a more connected property, placement is where security, convenience, and design come together. A well-positioned camera helps you verify deliveries, monitor entry points, and review activity with confidence. A poorly positioned one creates blind spots, false alerts, and a setup that feels more expensive than effective.
Why surveillance camera placement tips make such a difference
Most security issues happen at predictable points – front doors, side gates, garages, rear entries, parking areas, and shared access paths. Yet many DIY layouts focus on covering the widest possible view, which often sacrifices usable detail. Seeing everything from far away is not the same as being able to identify a face, a vehicle, or a sequence of events.
Placement also affects daily usability. If a camera constantly catches glare, headlights, swaying branches, or passing traffic, your notifications become noise. If it is too high, you lose facial detail. If it is too low, it becomes vulnerable to tampering. The right plan balances visibility, image quality, privacy, and clean integration with the property.
Start with the areas that matter most
Before choosing exact mounting points, think in zones instead of devices. Every property has high-priority areas where security delivers the most value. For most homes, that starts with the front door, driveway, garage, back patio, and any side access that is hidden from the street. For commercial spaces, the list often includes main entrances, loading areas, reception points, parking lots, and inventory-sensitive spaces.
This approach keeps the system practical. You are not just trying to record activity. You are deciding where verification matters most. If a package goes missing, if an employee needs to review an incident, or if a visitor arrives after hours, the camera should already be aimed at the moment that matters.
1. Cover entry points first
Doors and gates deserve priority because they are where interaction happens. A camera at the front entry should capture visitors approaching, pausing, and entering. That usually means mounting it at a height and angle that provides facial detail without creating harsh backlighting from the porch or afternoon sun.
For side doors and rear access points, the same principle applies. Do not rely on one wide camera to catch multiple doors if those entrances are far apart or framed by deep shadows. A more focused view is often more useful than a broad one.
2. Watch the path, not just the destination
A driveway camera should not only look at the garage door. It should show how vehicles and people approach the property. Likewise, a backyard camera is more effective when it captures the route from the fence or gate to the house, not just the patio furniture.
This small shift improves context. You see where someone came from, how long they were on site, and whether they interacted with another area before reaching the door.
Height and angle are where good systems become great
One of the most overlooked surveillance camera placement tips is simple – higher is not always better. Mounting too high can create an impressive overview, but it often reduces the identifying detail you need. The goal is a balanced perspective that protects the camera while still giving a useful angle for faces, movement, and objects in hand.
In many cases, cameras placed around 8 to 10 feet high strike that balance well outdoors. They are difficult to reach casually, but still close enough to capture detail. For larger commercial exteriors or parking areas, some cameras may need to go higher, but that usually works best when paired with lenses and positioning designed for longer-range viewing.
Angle matters just as much. Avoid extreme downward views that flatten the scene or create strong shadows under hats and overhangs. You also want to avoid aiming directly into sunrise or sunset when possible, especially in Florida properties where strong glare can wash out critical moments.
3. Use overlapping views where risk is higher
One camera should not be expected to do every job. At important access points, overlapping coverage is a smarter strategy. One camera may provide a wide contextual shot, while another captures a tighter identification view.
This is especially useful around front entries, long driveways, commercial storefronts, and pool or patio access points. If one angle is blocked by a vehicle, landscaping, or a visitor standing too close, the second angle fills the gap.
Avoid the common placement mistakes
A beautiful property can create its own surveillance problems. Decorative lighting, reflective glass, soffits, mature landscaping, and architectural overhangs all affect performance. So do weather patterns, insects, and night lighting conditions.
4. Do not point cameras at bright light sources
Entry lights, pool lighting, headlights, and sun glare can all reduce image quality. Even cameras with good low-light capability perform better when they are not fighting extreme contrast. If a light source must stay in the frame, positioning and exposure settings become especially important.
5. Keep landscaping in mind
Trees and shrubs may look harmless during installation and become a major issue six months later. Branch movement can trigger alerts, and fast-growing plants can gradually block the field of view. This is one reason placement should account for how the property will look over time, not just on installation day.
6. Respect privacy boundaries
A well-designed system protects your property without feeling intrusive. Cameras should focus on your entrances, assets, and activity zones rather than neighboring windows, private outdoor living areas, or spaces that create unnecessary concern. This matters for residential goodwill and for commercial professionalism.
Indoor placement deserves the same level of planning
Outdoor cameras get most of the attention, but indoor surveillance can be just as valuable when used thoughtfully. In homes, interior cameras often make sense at main foyers, mudrooms, first-floor circulation areas, or rooms with controlled access. In commercial environments, reception zones, cash-handling areas, stock rooms, and interior corridors are common priorities.
7. Place indoor cameras where transitions happen
The best indoor views are often at movement points – where someone enters, exits, or passes from one zone to another. That gives you cleaner footage and more useful event history than aiming at a large room from the far corner.
This also supports a cleaner aesthetic. Cameras placed with intention can blend into the architecture more naturally, which matters in well-designed homes and client-facing commercial spaces.
Match placement to how the system will be used
Some owners mainly want live awareness and smart alerts. Others care more about after-the-fact review. Some need license plate visibility at a gate. Others want to confirm when kids arrive home, when vendors access a property, or when a delivery reaches the front door.
8. Decide what each camera is supposed to prove
This is where many systems either become highly useful or mildly frustrating. A camera that is meant to identify faces should not be placed and configured like one meant to monitor a wide backyard. A camera intended for gate activity should be designed around vehicles and approach speed, not just general visibility.
When each camera has a job, the full system feels intentional. It also integrates more cleanly with smart home and security platforms, where alerts, clips, remote viewing, and automation routines depend on reliable coverage.
9. Think about lighting after dark
Daytime placement can look perfect and still underperform at night. Shadows shift. Glass reflects interior lighting. Driveways fill with headlight glare. Covered lanais can become darker than expected.
Night testing is one of the best ways to validate a layout before finalizing it. For many properties in Tampa Bay, especially those with deep overhangs, waterfront exposure, or extensive outdoor living areas, night performance can shape placement just as much as daytime appearance.
Professional design changes the outcome
Good camera placement is part security planning, part technical design, and part lifestyle integration. It is not only about catching incidents. It is about making the system easy to trust and easy to use every day. That means clear views, fewer nuisance alerts, better night performance, and a layout that supports how the property actually functions.
For custom homes, new construction, remodels, and commercial projects, this becomes even more valuable. Wiring paths, recorder location, mobile access, AI detection settings, doorbell cameras, access control, and lighting all influence where cameras should go. A coordinated design usually produces a cleaner result than adding devices one by one after problems appear.
SYNCT approaches surveillance as part of a connected environment, not a stand-alone gadget purchase. That difference shows up in the details – where cameras are placed, how footage is accessed, and how the whole system supports peace of mind without compromising the experience of the space.
The best placement plan should feel almost invisible until you need it. Then it should give you the right view, at the right moment, without guesswork.
